
Claes Oldenburg and Coosje van Bruggen

Today we're going to learn about two more POP Artists! Their names are Claes (sounds like Claus) Oldenburg and Coosje (sounds like Ko-sha) van Bruggen.


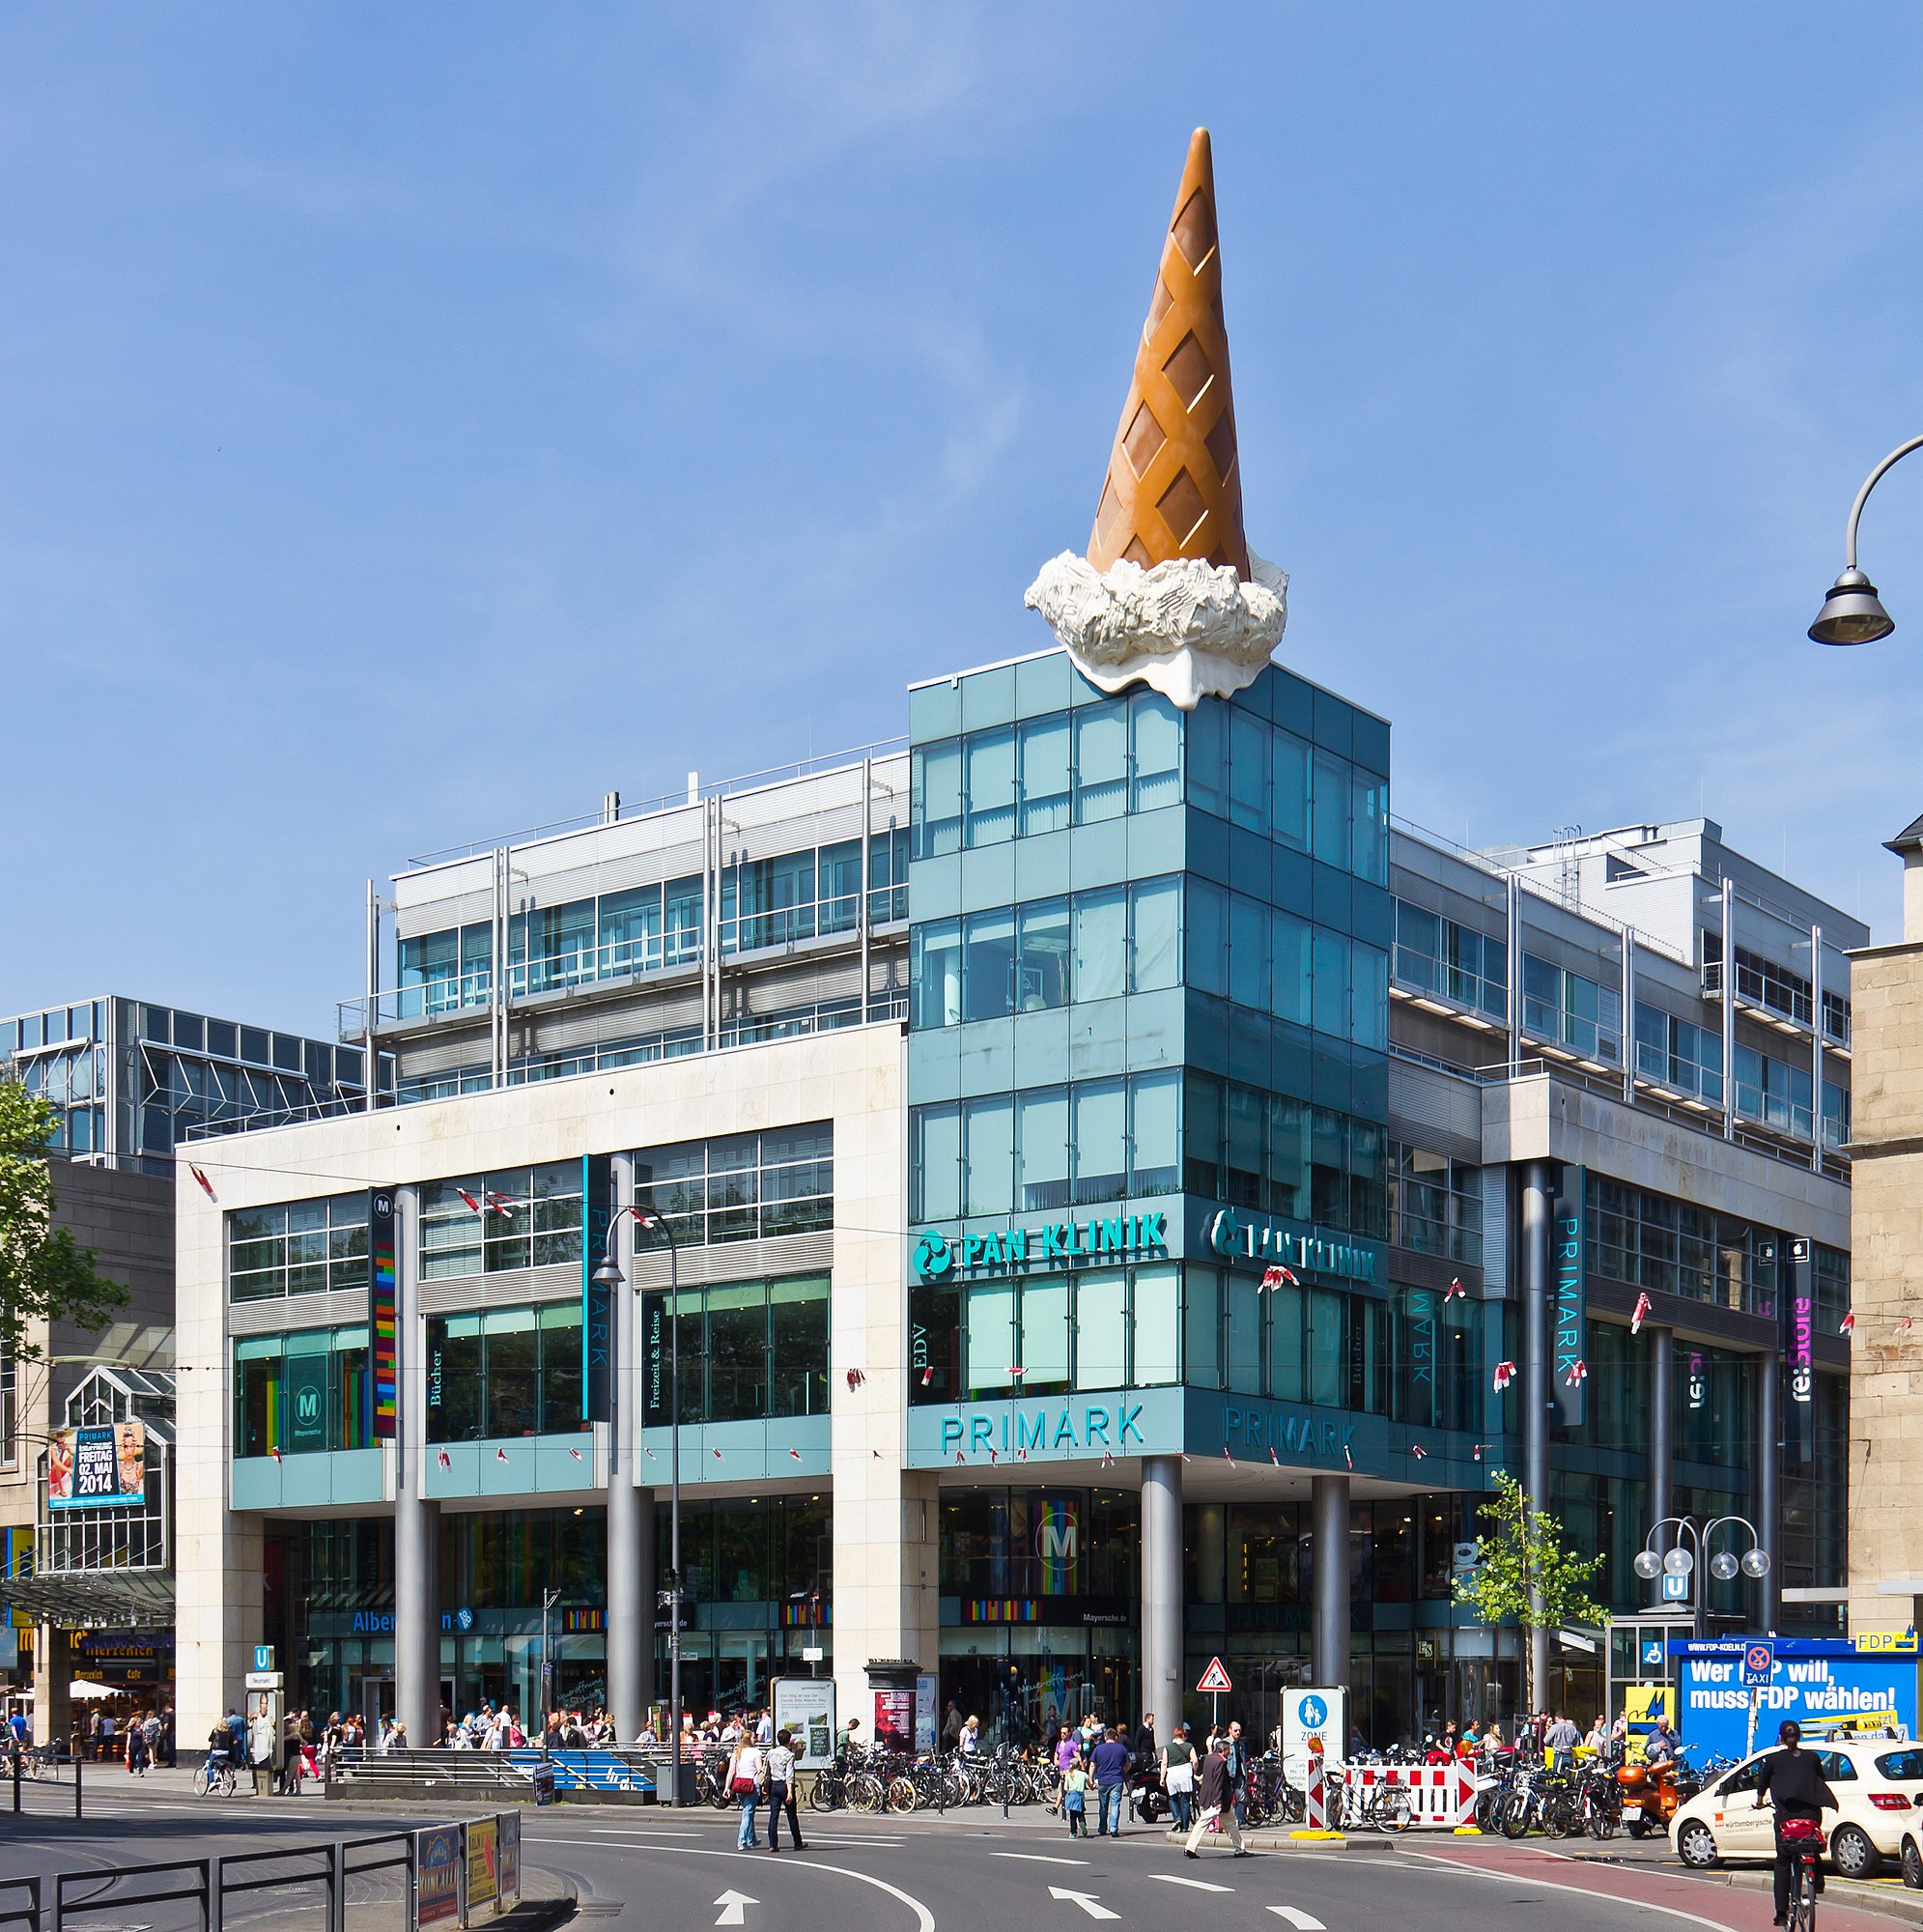

Claes Oldenburg and Coosje van Bruggen Sculpture Project
Supplies:
1st-3rd grades
· 1 box assorted model magic
· 1 sheet green constriction paper per student
· 1 sheet brown construction paper per student
· Glue
· Markers or crayons
· 1 Brown Sandwich bag per student
Supplies 4th-6th grades
· 1 box assorted model magic
· 1 small cardboard box per student
· Markers
https://www.signupgenius.com/go/8050B4BAEA623A1FE3-claes
How to Videos for TK-3rd Grade
How to make your park
Tk/k – Apples

Part 1: Design your park

1. Hand out construction paper, glue, and markers.
2. Have the students write their name on the front of their green paper.
3. Then have the students think about what they want their park to look like and where they would like their sculpture to go. Do they want their park to have a big lake? A small lake? Flowers? Is their sculpture going to be in the lake? Next to the lake?
4. Next, have the students create their park: cut out and glue their lake, add details like flowers, etc.
5. When the students are finished have them place their park to the side.
Part 2: Sculpting the apple

1. Hand out clay to the students. Each student should get 1/2 pack of red, ½ pack of yellow, and ½ pack of blue, ½ pack of white(the white is only needed if the students are making a non-traditional apple).
2. Start by having the student’s mix the brown for the apple’s stem. To make brown have the students make 4 small balls of yellow, 2 small balls of red, and 1 small ball of blue. Then have them mix all the balls together to make brown.
3. Next, have the students make the green for the apple’s leaves. For this have the students make 1 small ball of yellow and 1 small ball of blue. Now, have them mix these together to make green.
4. It’s now time to sculpt the body of the apple. Have the students decide what color they would like their apple to be. It can be red, green, yellow, or any color they would like. It’s okay for the students to be a little creative here (see above for color formulas). Have the students shape the bodies of their apple.
5. Once the body of the apple is complete have the students take a piece of their brown to sculpt the stem. Have them attach the stem to the top of the apple.
6. Next, have the students make 2 small leaves with their green. Have them attach 1 leaf to each side of the stem (If you happen to have a student who wants their stem and leaves to be non-traditional colors its ok to let them use those colors).
7. Once the students have completed their apple have them decide where in their park they would like to place their sculpture. Then have the students draw a small x there.
8. Finally, have the students write their names on the bottom of their sculpture and on the sandwich bag provided. Then have them gently place their apples in the bag.
9. Collect the apples and parks to be stored in the computer lab. A box with your teacher’s name will be provided.
1st Grade- Carrots

Part 1: Design your park

1. Hand out construction paper, glue, and markers.
2. Have the students write their name on the front of their green paper.
3. Then have the students think about what they want their park to look like and where they would like their sculpture to go. Do they want their park to have a big lake? A small lake? Flowers? Is their sculpture going to be in the lake? Next to the lake?
4. Next, have the students create their park: cut out and glue their lake, add details like flowers, etc.
5. When the students are finished have them place their park to the side.
Part 2: Sculpting the carrot

1. Hand out clay to the students. Each student should get ½ pack or red, ½ pack of blue, ½ pack of yellow, ½ pack of white.
2. Start by having the students make the green for the carrot’s leaves. For this have the students make 1 small ball of yellow and 1 small ball of blue. Now, have them mix these together to make green (If you happen to have a student who wants their leaves or carrots to be non-traditional colors its ok to let them use those colors).
3. Then have the students decide what color they would like their carrot(s) to be and how many carrots they would like to make. They can make one large carrot, a bunch of carrots, or even a carrot coming out of the ground.
4. Next, have the students mix the color or colors they need for their carrots. They can make their carrots orange, yellow, purple, or even rainbow (see chart above for color formulas).
5. It’s time to sculpt the body of their carrot(s). Remind them that a carrot is skinny on the bottom and wider on the top.
6. Next, have the students take their green and make the leaves. Tell them carrot leaves are long and skinny. Once they have made their leaves instruct them to attach the leaves to the top of the carrot(s).
7. Once the students have completed their carrot(s) have them decide where in their park they would like to place their sculpture. Then have the students draw a small x there.
8. Finally, have the students write their names on the bottom of their sculptures and on the sandwich bag provided. Then have the students gently place their carrots in the bag.
9. Collect the carrots and parks to be stored in the computer lab. A box with your teacher’s name will be provided.
2nd Grade- Donuts

Part 1: Design your park

1. Hand out construction paper, glue, and markers.
2. Have the students write their name on the front of their green paper.
3. Then have the students think about what they want their park to look like and where they would like their sculpture to go. Do they want their park to have a big lake? A small lake? Flowers? Is their sculpture going to be in the lake? Next to the lake?
4. Next, have the students create their park: cut out and glue their lake, add details like flowers, etc.
5. When the students are finished have them place their park to the side.
Part 2: Sculpting the Donut

1. Hand out clay to the students. Each student should get ½ a pack of white, ½ pack of red, ½ pack of blue, ½ pack of yellow.
2. Start by having the students decide what color they would like their donut to be. They can be realilistic or whimsical (see chart above for color formulas).
3. Have the students roll their dough color into a ball. From there have them make a hole with their thumb in the center of their ball to create the donut. If students would like to make bar or twist donuts instead, they are welcome to do so.
4. Next, have the students think about what color they would like their icing to be. Students are free to choose any color they would like here (see below for color formula chart).
5. To create the icing have the students take their color of choice and create a small ring with it. Have them flatten the ring and place it on top of their donut to create the icing. If making twist or bar donuts just flatten the icing to cover the top of the donut.
6. Once the students have their donut and icing complete, they can add details to their donuts like sprinkles, other toppings, or even consider placing their donut on a plate.
7. When everyone has completed their donut have them decide where in their park they would like to place their sculpture. Then have the students draw a small x there.
8. Finally, have the students write their names on the bottom of their sculptures and on the sandwich bag provided. Then have them gently place their donuts in the bag.
9. Collect the donuts and parks to be stored in the computer lab. A box with your teacher’s name will be provided.
3rd Grade- Spaghetti and Meatballs

Part 1: Design your park

1. Hand out construction paper, glue, and markers.
2. Have the students write their name on the front of their green paper.
3. Then have the students think about what they want their park to look like and where they would like their sculpture to go. Do they want their park to have a big lake? A small lake? Flowers? Is their sculpture going to be in the lake? Next to the lake?
4. Next, have the students create their park: cut out and glue their lake, add details like flowers, etc.
5. When the students are finished have them place their park to the side.
Part 2: sculpting the spaghetti and meatballs

1. Hand out clay to students. Each student should get ½ pack red, ½ pack blue, ½ pack yellow, ½ pack white.
2. Begin by having the students think about what they would like their spaghetti and meatballs to look like. Do they want their sculpture to be realistic or more whimsical? Maybe they would like their spaghetti to have pesto or alfredo sauce instead of tomato sauce, or maybe they would like to go all out and have rainbow spaghetti topped with a silly sauce.
3. Start by having the student make their plate for their spaghetti. Students are free to choose whatever color they would like for their plate.
4. Next have the students make the color for their spaghetti. For realistic spaghetti color have the students make 4 medium balls of white and 1 small ball of yellow. Then mix them all together to get a pale yellow spaghetti color. For other colors reference the color chart above.
5. Now have the students roll out their pieces of spaghetti and pile them on to their plate.
6. Then have the students make the sauce. Have them take a small ball of the color of their choice and then flatten the ball to create the sauce for the spaghetti. Place the flattened sauce on top of the pile of spaghetti.
7. It’s now time to make the meatballs. For traditional meatballs have the students mix up some brown. Have the students make 4 small balls of yellow, 2 small balls of red, and one small ball of blue. Then have the student mix them altogether to make brown. For other colors reference the color chart below.
8. Next, have the students form the meatballs and place them on top of the spaghetti and sauce.
9. Once the students have completed their spaghetti and meatballs have them decide where in their park they would like to place their sculpture. Then have the students draw a small x there.
10. Finally, have the students write their names on the bottom of their sculptures and on the sandwich bag provided. Then have them gently place their spaghetti and meatballs in the bag.
11. Collect the donuts and parks to be stored in the computer lab. A box with your teacher’s name will be provided.
4th-Grade-Hamburgers

Part 1: Design your building
1. Start by handing out a box to each student. The boxes come flattened so the students will have to put them together. See video for step by step process. Once the box is together have the students write their names on the top of their box.
2. Next, have the students use their markers to draw doors, windows, and details of their choice like flowers, trees, etc. Give the students about 15 minutes to design their building.
3. Have the students put their buildings to the side while they build their sculpture.
Part 2: Sculpting the hamburger

1. Handout clay to students. Each student should get ½ package of red, ½ pack of yellow, ½ pack of blue, and ½ pack of white.
2. Have the students think about what they would like their hamburger to look like. Would they like it to be realistic or more whimsical? What toppings do they want on their hamburger? How many patties is their hamburger going to have?
3. Start by having the students mix the color for their burger buns. To do this have the students refer to the color chart above for color formulas.
4. Split the bun color into two parts. Take one part and sculpt the top bun. The top bun should be slightly domed. Then take the second part and sculpt the bottom bun,
5. Then have the students mix and form their burger patties. Again refer to the color chart for color formulas.
6. Next have the students make their toppings and layer them onto their burger. They can choose to put any toppings they would like on their burgers.
7. Once all the burger layers are on, put on the top bun. If students would like they can make sesame seeds to go onto the top bun.
8. Once the students have completed their sculpture, have them make a small x on the top of the building where they would like their sculpture to go.
9. Finally, have the students write their names on the bottom of their sculpture and gently place their sculptures inside their boxes.
10. Collect the sculptures and buildings to be stored in the computer lab. There will be shopping bags in the art closet for you to use to store the projects in. You will most likely need 3 or 4 bags. Please remember to write your teachers name on the outside of the bags and bring them to the computer room to store.
5th Grade-Pizza

Part 1: Design your building
1. Start by handing out a box to each student. The boxes come flattened so the students will have to put them together. See video for step by step process. Once the box is together have the students write their names on the top of their box.
2. Next, have the students use their markers to draw doors, windows, and details of their choice like flowers, trees, etc. Give the students about 15 minutes to design their building.
3. Have the students put their buildings to the side while they build their sculpture.
Part 2: Sculpting the pizza

1. Handout clay to students. Each student should get ½ package of red, ½ pack of yellow, ½ pack of blue, and ½ pack of white.
2. Start by having the students decided if they would like to make a slice of pizza or a whole pizza. Then have them think about whether they would like their pizza to be realistic looking or more whimsical.
3. Next, have the students sculpt their pizza. Start with the crust. Then have them layer the sauce, cheese, and toppings (see above for color formulas).
4. Once the students have completed their sculpture, have them make a small x on the top of the building where they would like their sculpture to go.
5. Finally, have the students write their names on the bottom of their sculpture and gently place their sculptures inside their boxes.
6. Collect the sculptures and buildings to be stored in the computer lab. There will be shopping bags in the art closet for you to use to store the projects in. You will most likely need 3 or 4 bags. Please remember to write your teachers name on the outside of the bags and bring them to the computer room to store.
6th-Cupcakes

Part 1: Design your building
1. Start by handing out a box to each student. The boxes come flattened so the students will have to put them together. See video for step by step process. Once the box is together have the students write their names on the top of their box.
2. Next, have the students use their markers to draw doors, windows, and details of their choice like flowers, trees, etc. Give the students about 15 minutes to design their building.
3. Have the students put their buildings to the side while they build their sculpture.
Part 2: Sculpting the cupcake

1. Handout clay to students. Each student should get ½ package of red, ½ pack of yellow, ½ pack of blue, and ½ pack of white.
2. Start by having the students think about what they would like their cupcake to look like. Is it going to be realistic? More whimsical? Is it going to have a big pile of frosting? Sprinkles? Will it be decorated like their favorite character or animal. Feel free to have the students sketch out their cupcakes.
3. Next, have the students sculpt their cupcakes. Have them start with the base and then add details from there (see chart above for color formulas).
4. Once the students have completed their sculpture, have them make a small x on the top of the building where they would like their sculpture to go.
5. Finally, have the students write their names on the bottom of their sculpture and gently place their sculptures inside their boxes.
6. Collect the sculptures and buildings to be stored in the computer lab. There will be shopping bags in the art closet for you to use to store the projects in. You will most likely need 3 or 4 bags. Please remember to write your teachers name on the outside of the bags and bring them to the computer room to store.