Open House Relief Sculptures
Due May 22nd
What is a relief sculpture? Watch the video below to find out.
https://www.artsq.org/techniques/v/what-is-relief-sculpture-low-relief-high-relief-sunken-relief
Now that you have learned a little bit about relief sculpture, look at the two images below.
How is the relief sculpture different from the freestanding sculpture?

A relief sculpture is attached to a flat surface (like a wall or background). It sticks out from that surface but is not fully separate.
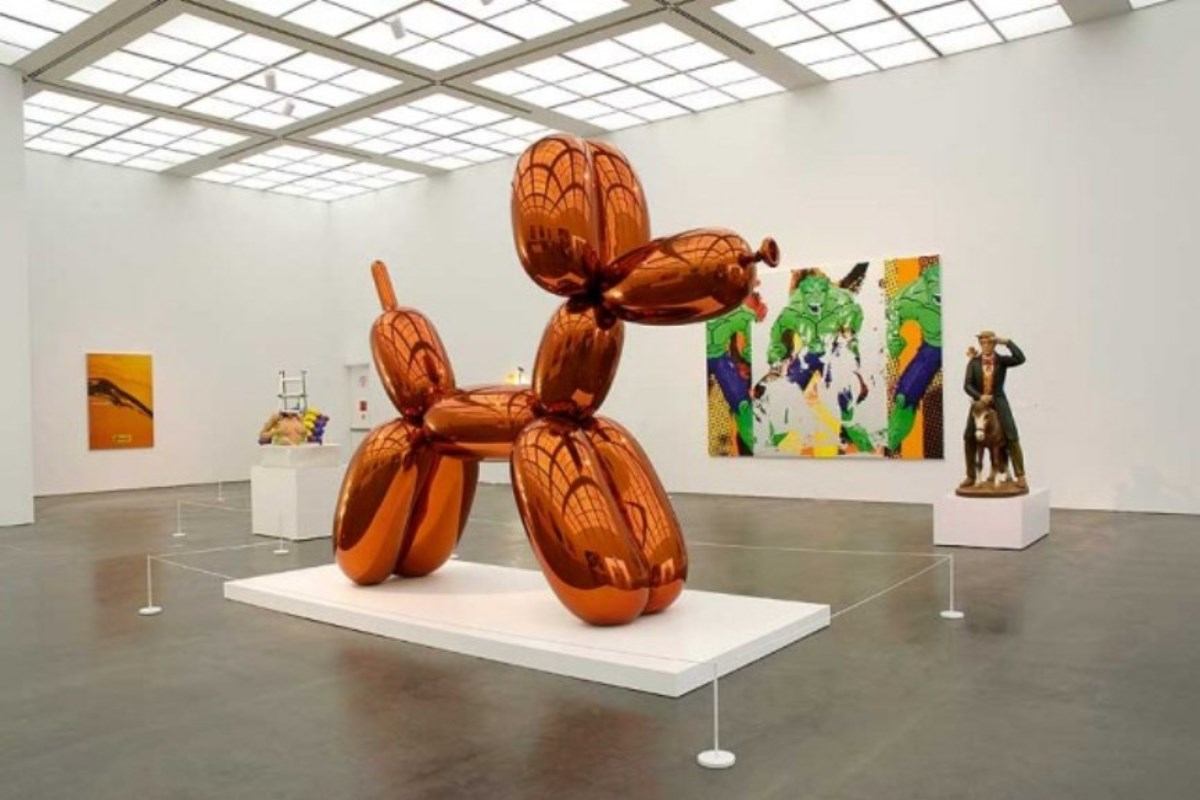
A freestanding sculpture stands on its own and is not attached to a background. You can walk all the way around it.
In the video you learned about three different categories of relief sculptures: High relief, low relief, and sunken relief.
Let's start with some examples of high relief art.
The Project
Materials:
- White paper (1 piece)
- Pencil
- Wood frame (1 per student)
- Modeling clay( 1 pack to be shared between 2 or 3 students)
- Toothpick (1 per student)
*Save left over modeling clay in ziplock bags, sort by color. Bags will be in the art closet.
* Make sure toothpicks collected and thrown away at the end of the lesson.
1. Start by having students sketch out their idea. Have students draw 2 boxes on their paper. In the first box have students draw their background. Tell them to think about what sunken relief elements they may want to include in their sculpture. In the second box have them draw their foreground. Tell them to think about which elements they want in low relief and which elements they want in high relief.
*For TK/K skip this step.
2. Hand out clay, frames, and toothpicks. Have students write
their name and class on the back of the frame.
* For tk/k write their names and class for them.
3. Building your background- Have students pick out the colors they want to use for their back grounds. Students may use more than one color and/or mix their own colors. Make Sure every student has their frame indent side up. Students will then gently press their clay into the frames to create their back ground.
4. Have students add sunken relief elements to their background using their toothpicks if they would like too.
5.
Building your foreground- Have students sculpt the rest of their picture. Each element of their foreground will be layered on top of the background. Have students check that their foreground elements are secured. If they seem loose students can press around the edges of their clay with their fingers or their toothpicks to help secure the clay.
6. You are done! Collect completed projects to display at open house. Thank you all for all your hard work and an amazing year! Please ask your teacher to store in their classroom until open house. Some one will come and collect them the week of open house to display in the cafeteria.


